Last updated
Overview
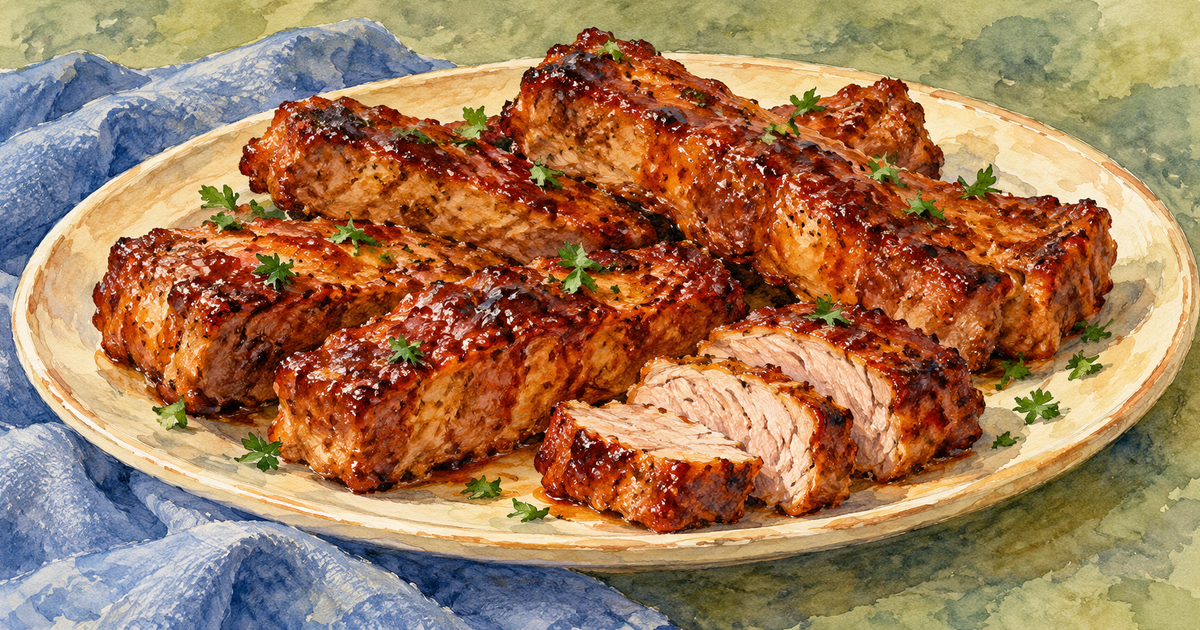
Country-style ribs are meaty pork pieces rather than a rack of narrow rib bones. Check the cut before cooking: shoulder-cut pieces have seams of fat and connective tissue, while loin-cut pieces are leaner and need other instructions.
The two longer cooks here soften shoulder to different degrees. Keep the pieces flat in their bags and add a sweet glaze near the end of browning so it does not burn before the meat colors.
Time and temperature
Swipe to see all columns
| Texture | Bath setting | Check before serving | Cook time |
|---|---|---|---|
| Tender PiecesApplies to: A 2–3-pound batch of plain boneless shoulder-cut country-style ribs. | 156°F | 145°FCheck before finishing. Rest at least 3 minutes after the final heat. | 12 hours |
| Fall-ApartApplies to: A 2–3-pound batch of plain boneless shoulder-cut country-style ribs. | 176°F | 145°FCheck before finishing. Rest at least 3 minutes after the final heat. | 12 hours |
Before you cook
- Food and size
- Use 2–3 pounds of plain boneless country-style ribs cut from pork shoulder. Loin-cut country-style ribs, bone-in pieces, rib racks, and whole shoulders need other instructions. The culinary source gives no individual thickness limit, so the listed time cannot replace the center check.
- Preparation
- Start with fully thawed, refrigerator-cold intact pork without injection, mechanical tenderizing, stuffing, or curing. Season with a dry rub and spread the pieces flat in bags without overlap.
- Timing
- Fully submerge in the preheated circulating bath, leave water space around every bag, and start the 12-hour time at immersion. Cook without interruption and keep the water level above the food.
- Check and serve
- Use clean utensils and discard bag liquid. Check the thickest center of every piece in several places; each spot must reach at least 145°F before the final browning. Continue cooking cooler pieces in a skillet or oven and check again. Brown, brush with a fresh glaze near the end, then rest at least 3 minutes after the final heat before cutting or pulling and serving immediately.
- Limits
- These instructions do not cover frozen starts, loin-cut ribs, chilling, storage, reheating, or holding.
Choose your texture
- 156°FTender Pieces
- Tender pork that still holds together when lifted and can be cut into meaty pieces.
Best for
- A 2–3-pound batch of plain boneless shoulder-cut country-style ribs, spread flat without overlap.
- 176°FFall-Apart
- Soft shoulder pieces that separate easily with a fork after browning and resting.
Best for
- A 2–3-pound batch of plain boneless shoulder-cut country-style ribs, spread flat without overlap.
Get it ready
- Confirm with the label or butcher that the boneless country-style ribs come from shoulder. Choose plain intact pork, fully thawed and refrigerator-cold, totaling 2–3 pounds.
- Season with salt, pepper, and a dry rub. Keep a fresh glaze separate for the finish.
- Spread the pieces flat in food-safe bags rated for the selected bath temperature, without stacking or overlap. Seal and fully submerge with water space around each bag.
- Verify the selected bath temperature, start timing at immersion, and cook for all 12 hours. Cover the bath and maintain enough water to keep every bag submerged.
Finish and serve
- Open the bags carefully, lift the pork with clean utensils, and discard bag liquid.
- Measure the thickest center of every piece in several places. Each spot must reach at least 145°F; continue cooking cooler pieces in a skillet or oven and check again.
- Dry the pork and brown briefly under a hot broiler or on a hot grill, handling the softer pieces gently.
- Brush with a fresh glaze near the end and turn as needed, watching closely so the sugar does not burn.
- Rest at least 3 minutes after the final heat, then cut or pull and serve immediately.
Useful tips
- Buy by the shoulder cut rather than relying on the words country-style alone.
- Choose Tender Pieces for portions that hold together and Fall-Apart when you want to pull the meat.
- Keep the glaze separate from raw meat so it is ready to brush onto the browned pork.
Common problems
- The pork seems dry rather than tender
- Lean loin-cut ribs were used or the browned pork stayed over the heat too long. Use shoulder-cut pieces and keep the browning brief after the center check is complete.
- The glaze burns
- A sugary coating was applied before the meat had browned. Brown the dried pork first, brush on fresh glaze near the end, and watch every turn.
Questions
QCan I use loin-cut country-style ribs?
QAre these the same as baby back ribs?
QWhy do both choices take 12 hours?
QCan I serve them straight from the bag?
Cook safely
Keep raw pork separate from ready-to-eat food. Use fully thawed, refrigerator-cold intact meat and keep the bags submerged throughout the uninterrupted cook.
Use clean utensils, discard bag liquid, and measure the thickest center of every piece in several places. Each spot must reach at least 145°F before final browning; continue cooking cooler pieces in a skillet or oven and check again.
Rest at least 3 minutes after the final heat before cutting or pulling and serving immediately. Tenderness and the bath timer do not replace this check.
These instructions do not cover ground, injected, mechanically tenderized, stuffed, cured, or frozen pork, chilling, sealed storage, reheating, or hot holding.
Sources and further reading
- Sous Vide Honey-Chipotle Glazed Country Style Ribs — Jason Logsdon
Supplies both shoulder-rib cooking choices and the glazed finish.
- How to Sous Vide Pork Country Style Ribs — Jason Logsdon
Explains the shoulder cut and the texture differences.
- Safe Minimum Internal Temperatures — FoodSafety.gov
Supports the thermometer check and rest for both choices.