Last updated
Overview
The tenderloin is a small, tapered muscle from beneath the turkey breast. It is sold without bones or skin, often as two pieces, and needs different handling from a large breast roast.
Buy plain tenderloins so you can control the seasoning and check the label for added solution. This guide uses a roast-style bath, followed by a thermometer check and a brief browning step. The thin tips will color before the thicker middle.
Time and temperature
Swipe to see all columns
| Texture | Bath setting | Check before serving | Cook time |
|---|---|---|---|
| Roast-Style Tenderloin | 165°F | 165°F | 4 hours |
Plain boneless skinless turkey tenderloins totaling 2 pounds, kept as separate natural pieces and bagged flat without overlap. This does not cover a whole breast, a rolled roast, stuffed meat, or injected preseasoned tenderloins. Start timing when the bag enters the fully heated circulating bath. The listed time is the bath stage only; allow additional time for the center check, any hotter cooking needed, and browning. Follow the thermometer check in Cook safely before serving.
Choose your texture
- 165°FRoast-Style Tenderloin
- Firm white meat that slices neatly, similar to roast turkey.
Best for
- Plain boneless skinless turkey tenderloins totaling 2 pounds, kept as separate natural pieces and bagged flat without overlap. This does not cover a whole breast, a rolled roast, stuffed meat, or injected preseasoned tenderloins.
Get it ready
- Choose 2 pounds of plain boneless skinless turkey tenderloins. Exclude injected, enhanced, stuffed, or rolled products.
- Trim loose connective tissue with a clean knife. Do not wash raw poultry; keep its juices away from ready-to-eat food.
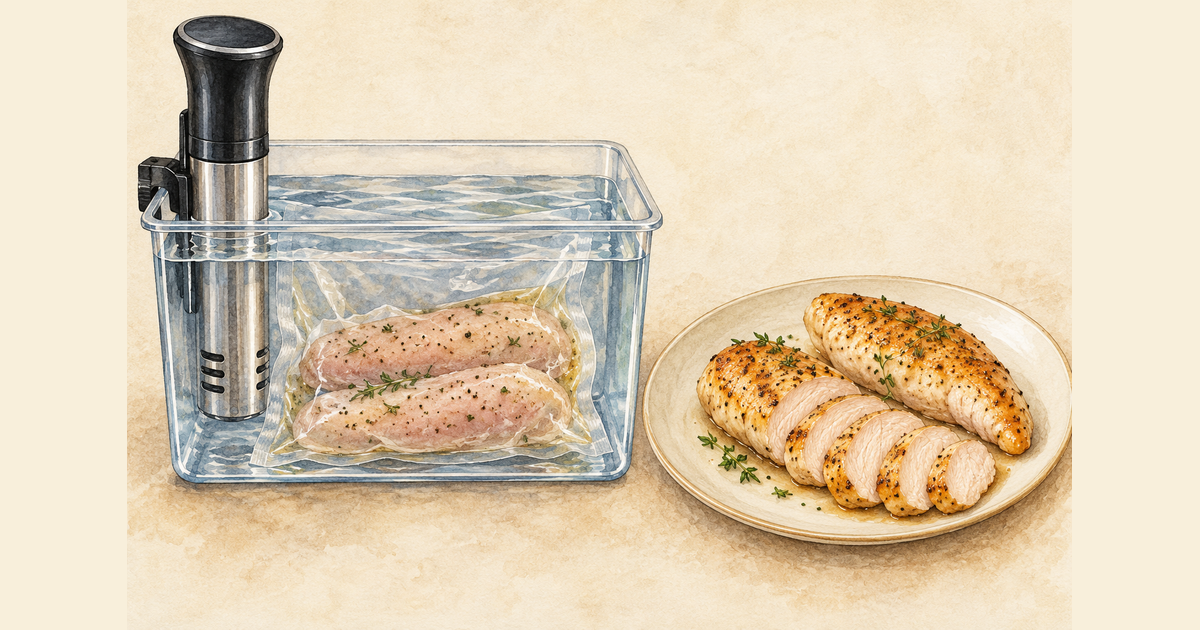
- Season the refrigerator-cold pieces and seal them separately in food-safe bags, lying flat without overlap.
- Fully submerge the bags in the heated circulating bath with space between them. Start timing when the turkey goes in.
Finish and serve
- Use clean utensils to remove the meat from its bag and discard the liquid.
- Measure the center before browning. Check the thickest center of each tenderloin from the side and at a second thick spot, keeping the probe away from the thin tapered tip. Every checked spot must reach 165°F. If a spot is cooler, continue cooking in a skillet or oven and check again.
- Dry the tenderloins with clean paper towels and brush lightly with oil. Brown in a skillet, turning gently and keeping already-browned tips away from the hottest area.
- Move to a clean board, slice across the grain, and serve immediately with a separately cooked sauce or gravy.
Useful tips
- Plain tenderloins and heavily seasoned packaged products are not interchangeable in this guide.
- Use tongs instead of a fork to turn the small pieces while browning.
- Arrange slices on warm plates so the thin pieces do not cool while you finish serving.
Common problems
- The small ends become dry
- The tapered tips receive extra heat while the thick middle catches up. Measure the thick center and move browned tips away from the hottest part of the skillet.
- The surface will not brown
- The tenderloin is still wet from the bag. Dry it carefully and give each piece room in the skillet.
Questions
QIs this the same as turkey breast?
QCan I start with frozen tenderloins?
QCan I serve it when the bath timer ends?
Cook safely
Use fully thawed, refrigerator-cold intact whole-muscle meat. This guide does not cover ground, injected, mechanically tenderized, cured, stuffed, or rolled meat.
Check the thickest center of each tenderloin from the side and at a second thick spot, keeping the probe away from the thin tapered tip. Each measured spot must reach 165°F before the final browning.
If a spot is cooler, continue cooking in a skillet or oven and check again. The bath timer alone cannot make the meat ready to eat. Use clean utensils, discard bag liquid, and serve immediately.
These instructions do not cover chilling, storage, reheating, or hot holding.