Last updated
Overview
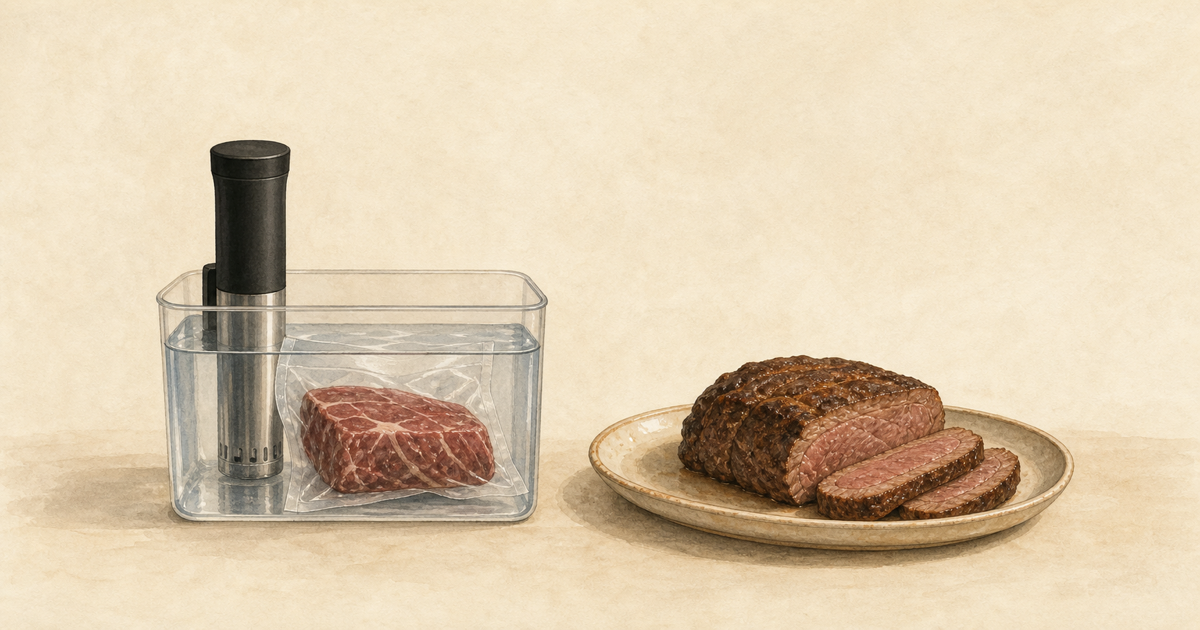
A long cook turns chuck roast tender while keeping the meat juicy. Choose a lower temperature for rosy slices or a hotter bath for pot-roast texture and easy shredding.
Time and temperature
Swipe to see all columns
| Texture | Bath setting | Check before serving | Cook time | Longest time |
|---|---|---|---|---|
| Sliceable Roast | 140°–145°F | 145°F | 12–18 hours | 36 hours |
| Pot Roast | 165°F | 145°F | 18–24 hours | 48 hours |
| Shredded | 175°–185°F | 145°F | 24 hours | 48 hours |
Choose the time that matches the texture you want. Start timing when the bag goes into the fully heated water bath, and read the Cook safely section before serving.
Choose your texture
- 140°–145°FSliceable Roast
- Rosy, tender chuck roast that holds together for carving.
Best for
- Chuck eye
- Shoulder clod
Notes
- Finish under the broiler or in a very hot oven.
- Slice against the grain for best texture.
Tips
- Keep roasts in their natural untied shape and check several thick locations before finishing.
- Slice across the grain only when ready to serve; keep unsliced portions wrapped in foil to retain heat.
- 165°FPot Roast
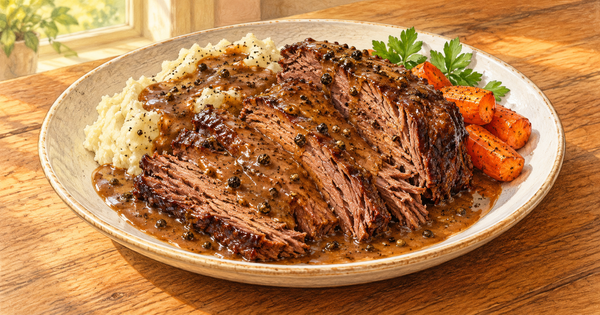
- Fork-tender beef with the soft texture of a classic pot roast.
Best for
- Chuck roast
- Blade roast
Notes
- Add aromatics (garlic, rosemary) to the bag.
Tips
- Sear the roast after cooking to develop caramelization before adding vegetables.
- If you want thicker gravy, whisk a cornstarch slurry into clean reserved stock and wine.
- Add hearty herbs (thyme, bay leaf) to the bag but skip fresh parsley — it turns bitter.
- 175°–185°FShredded
- Very soft beef that pulls apart easily with a fork.
Notes
- Spread on a sheet tray and broil for crispy bits.
Tips
- Add a splash of apple cider vinegar or lime juice after shredding to cut richness.
- Broil in batches to keep the meat crisp; overcrowding leads to steaming.
Get it ready
- Season with salt and your favorite spices.
- Add garlic, herbs, or citrus if you like.
- Seal the chuck roast in a food-safe bag, or water-displace the air and close a zip-top bag.
- Make sure the bag stays fully submerged while the food cooks.
Finish and serve
- Take it out of the bag and pat it dry.
- Brown it quickly in a hot skillet, under the broiler, or on the grill.
- Rest for at least 3 minutes before slicing.
- Serve right away.
Useful tips
- Chuck roast is the budget cut that sous vide turns into prime rib. At 140°–145°F for 18–24 hours, the collagen melts while the center stays rosy pink. The result slices and tastes like a $40/lb roast for a fraction of the price.
- Sear after sous vide, not before. Pre-searing sounds logical but the long cook washes away the crust. Post-searing on a very hot skillet or under a 500°F oven builds a fresh, permanent bark.
- Anti-tip: do not cook chuck roast for less than 12 hours at any temperature. Unlike tender steaks, chuck is loaded with connective tissue that needs sustained heat to convert to gelatin. A 4-hour chuck is tough and chewy no matter the temperature.
Questions
QSliceable Roast: What seasonings work best?
QPot Roast: Can I cook vegetables in the bag?
QPot Roast: Why 165°F?
QShredded: Can I finish in a skillet instead of broiling?
Cook safely
Use the chart for timing, then check the thickest part of the roast with a food thermometer. It should reach 145°F. Rest it for at least 3 minutes before slicing, and keep the cooked food away from raw juices. If the meat is ground, injected, mechanically tenderized, rolled, or stuffed, follow the package directions or a guide written for that form.
Cook with this guide
Recipes using this guide
Each recipe inherits a reviewed bath setting and cook time from the Chuck Roast guide.